Gaussian Splatting Guide for High-Quality Models
Gaussian Splatting is one of the most promising methods for creating a digital version (“digital twin”) of a real-world scene or object. While the workflow is progressively simplified with new tools and services, creating high-quality models still requires know-how and attention to detail. This guide describes a workflow to create high-quality models using free tools.
Prerequisites
The scene should be as static as possible. There should be no moving objects. Make sure that the lighting situation does not change, there is no person or car moving in the background, and there is no wind.
This is important because movement and lighting changes can cause errors in the camera alignment step, which is a fundamental part of the reconstruction process.
Image Capture
Creating a high-quality capture depends on taking blur-, noise-, and distortion-free images from many different angles. Ensure a high overlap between neighboring images. It is imperative that the focal length, exposure, and white balance remain constant. Zooming between images is not allowed.
Capturing objects: Move around the object with the camera pointing at the object. Depending on the size of the object, capture from at least three different heights to record high, mid, and low angles.
Capturing scenes/rooms: Capture several passes, taking images of the whole room as well as important areas to get more detail in the final model. Never capture empty, featureless walls and make sure to have as many depth cues in the image as possible (corners, windows, furniture, ...).
Optimal Equipment
Modern mirrorless or DSLR camera with a 24mm full-frame (or equivalent) lens. Longer lenses may also be used, and modern reconstruction software can also deal with wider lenses. If a lot of noise is to be expected (high ISO), images should be taken in RAW format and denoised as a pre-processing step.
Suitable Equipment
Smartphone or high-quality action camera. Auto-exposure should be deactivated to keep each shot equally exposed. Otherwise, the phone changes the exposure depending on the brightness of the image. If there is good light, the final reconstruction quality will not suffer much in comparison to using optimal equipment.
Before proceeding, remove all blurry shots from the dataset.
Reconstruction
The product of the reconstruction step is the final Gaussian Splatting model. This step consists of two tasks: Establishing a relationship between the individual images (“camera alignment”) and creating the Gaussian Splatting model itself.
Camera Alignment
To establish a relationship between the images, we’re using RealityScan:
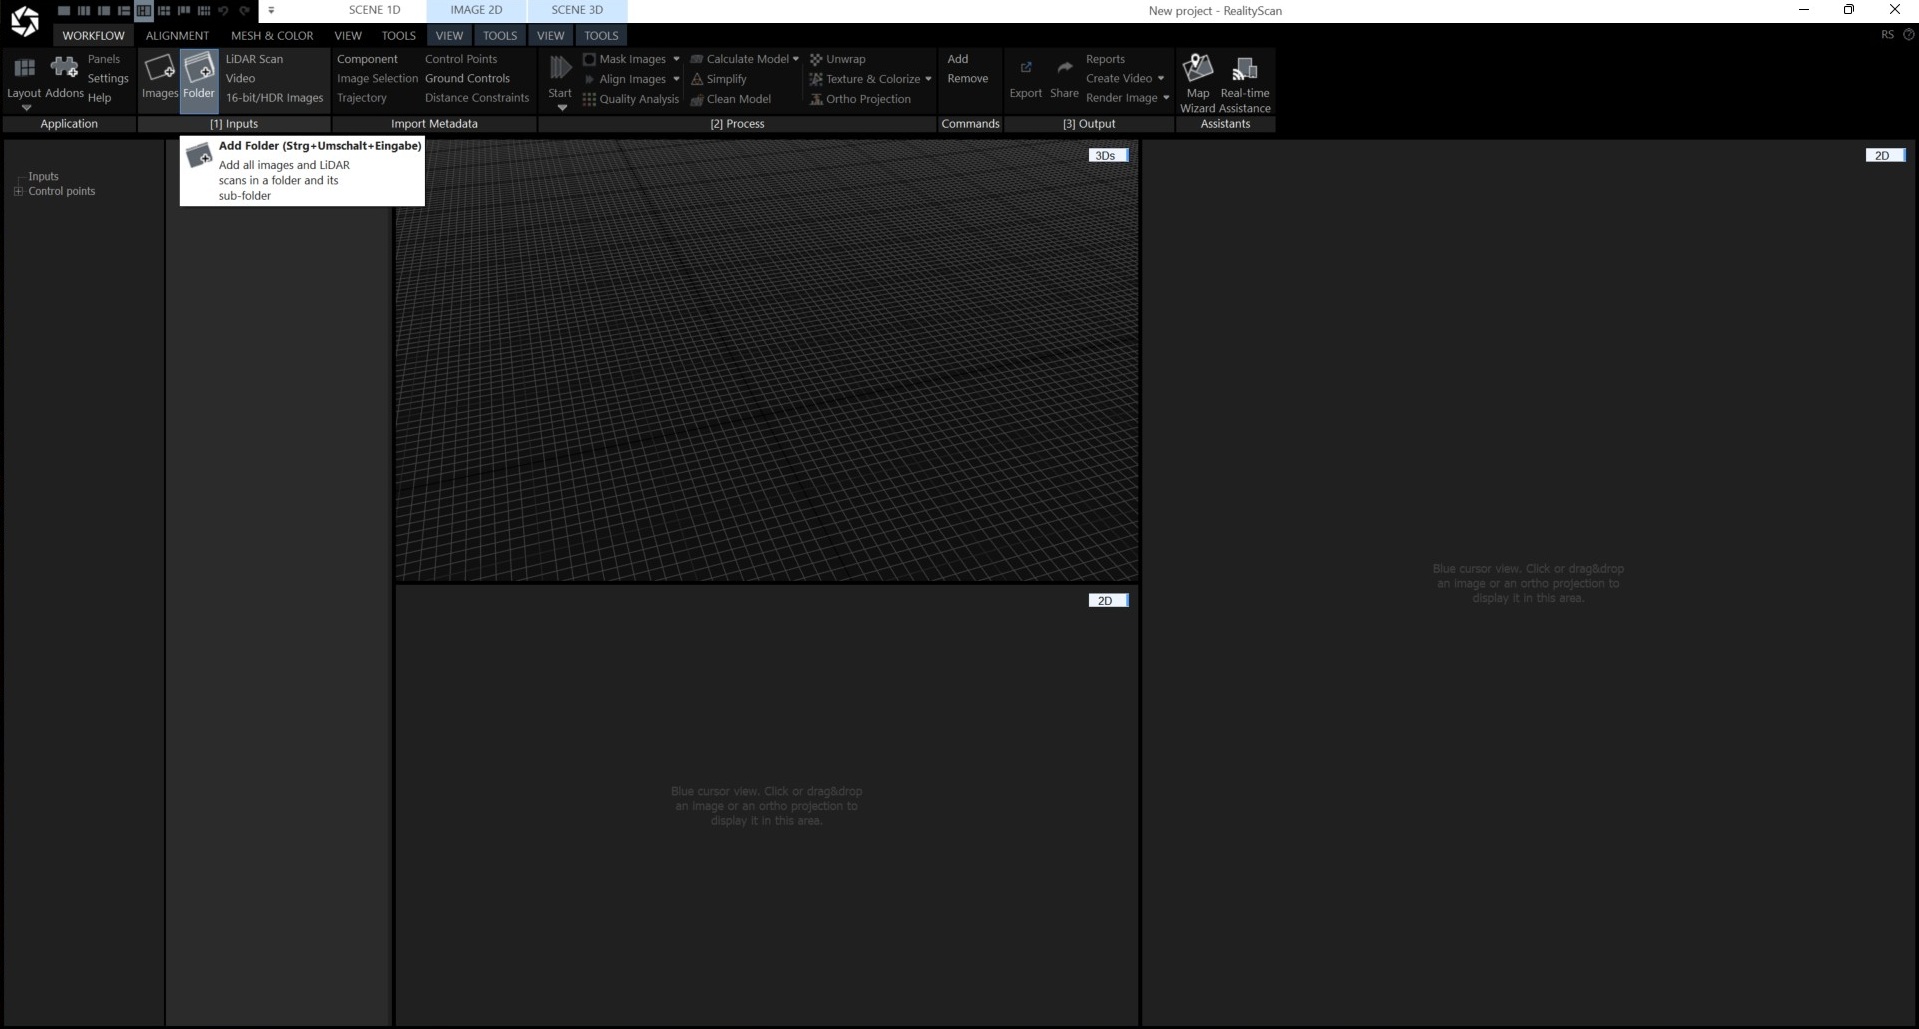
1. Add a folder containing all the images that were captured.
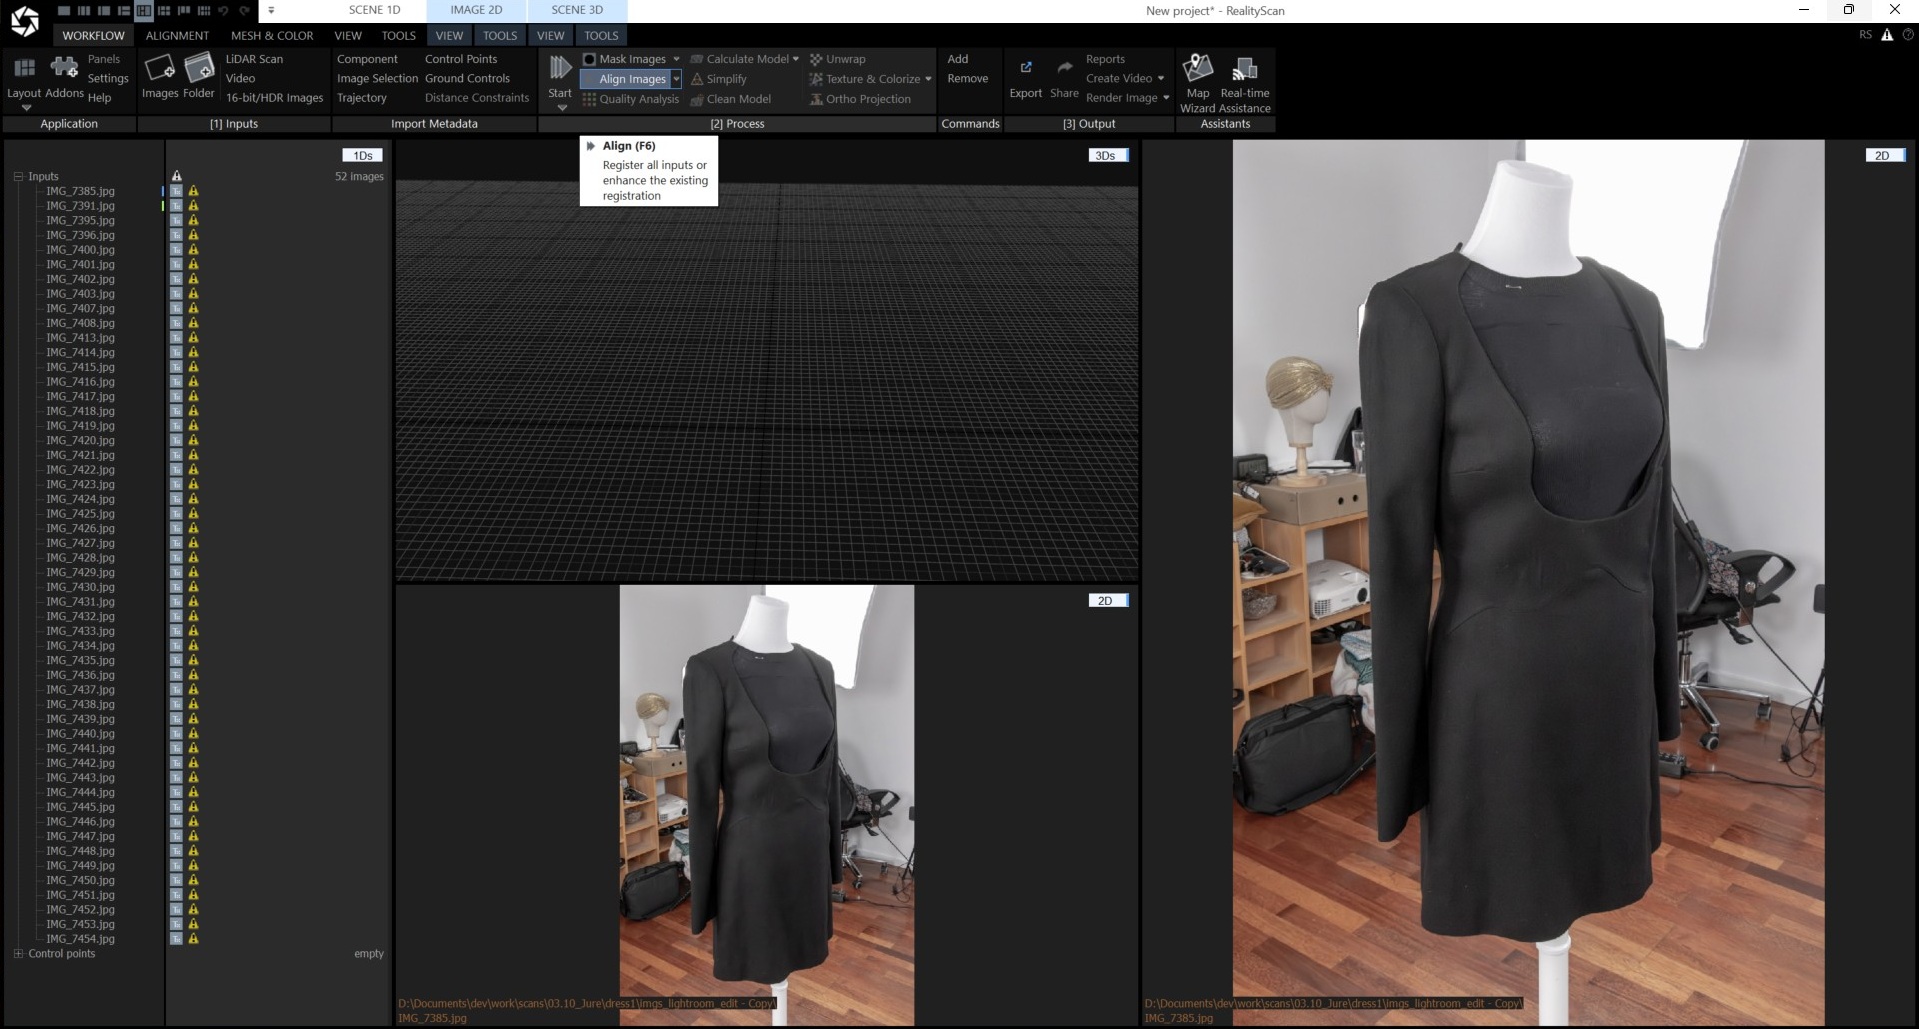
2. “Align images”, which will establish the relationship between the images. A high overlap between images is essential for this step to produce an accurate estimate of the camera positions. This step also produces a sparse point cloud used as the initialize scene structure later on in LichtFeld Studio. This step might take a while to complete.
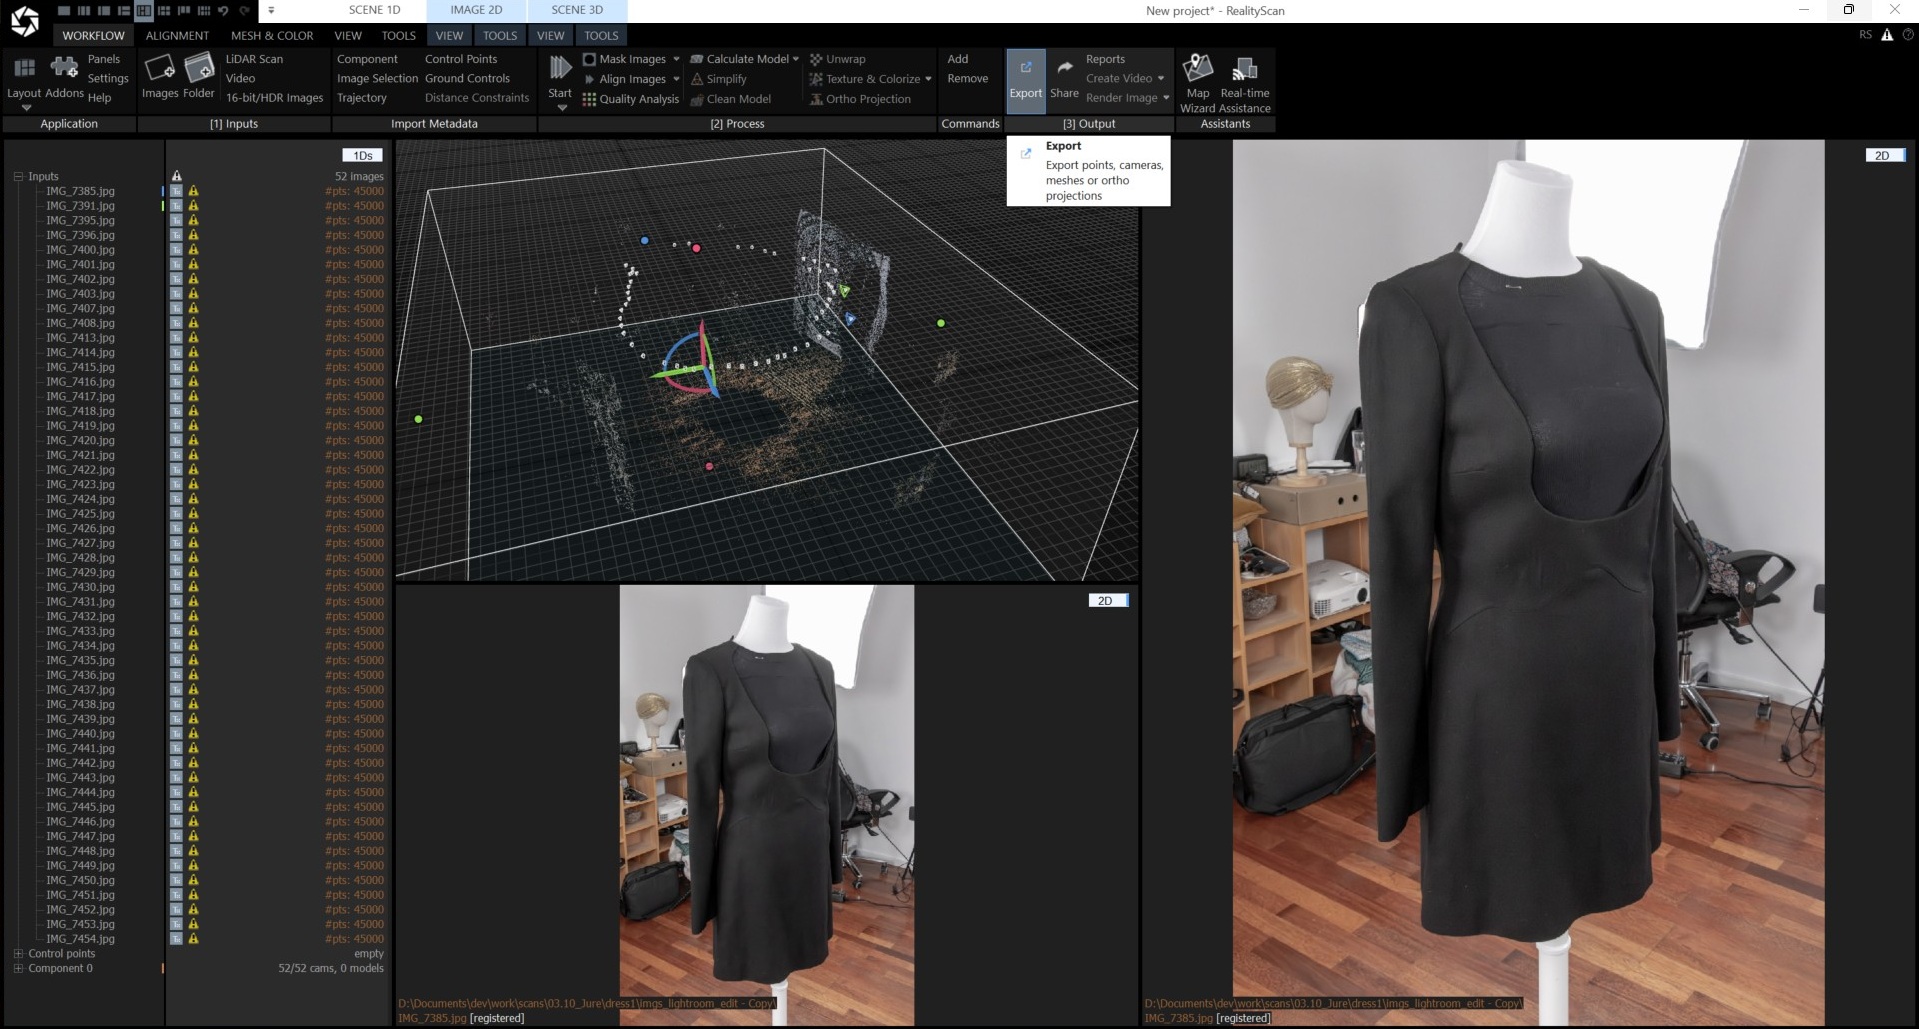
3. Export the result.
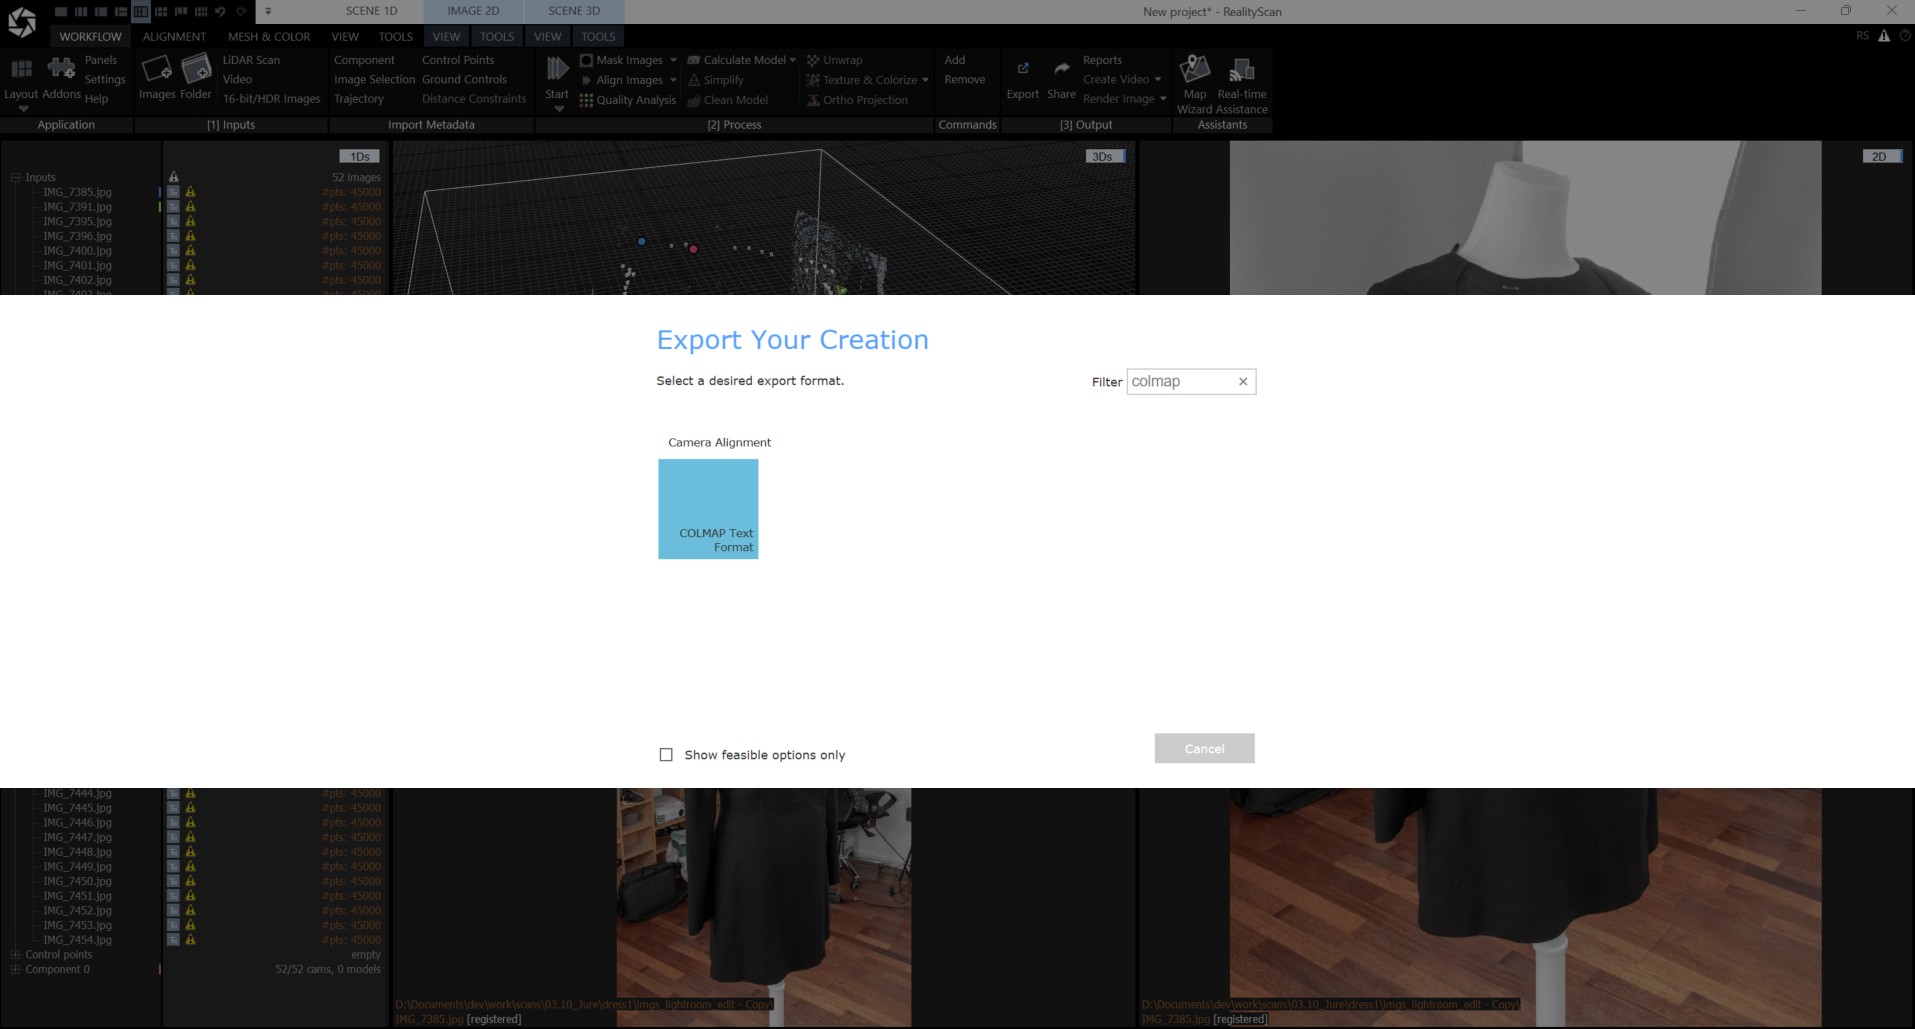
4. Export the result in COLMAP format.
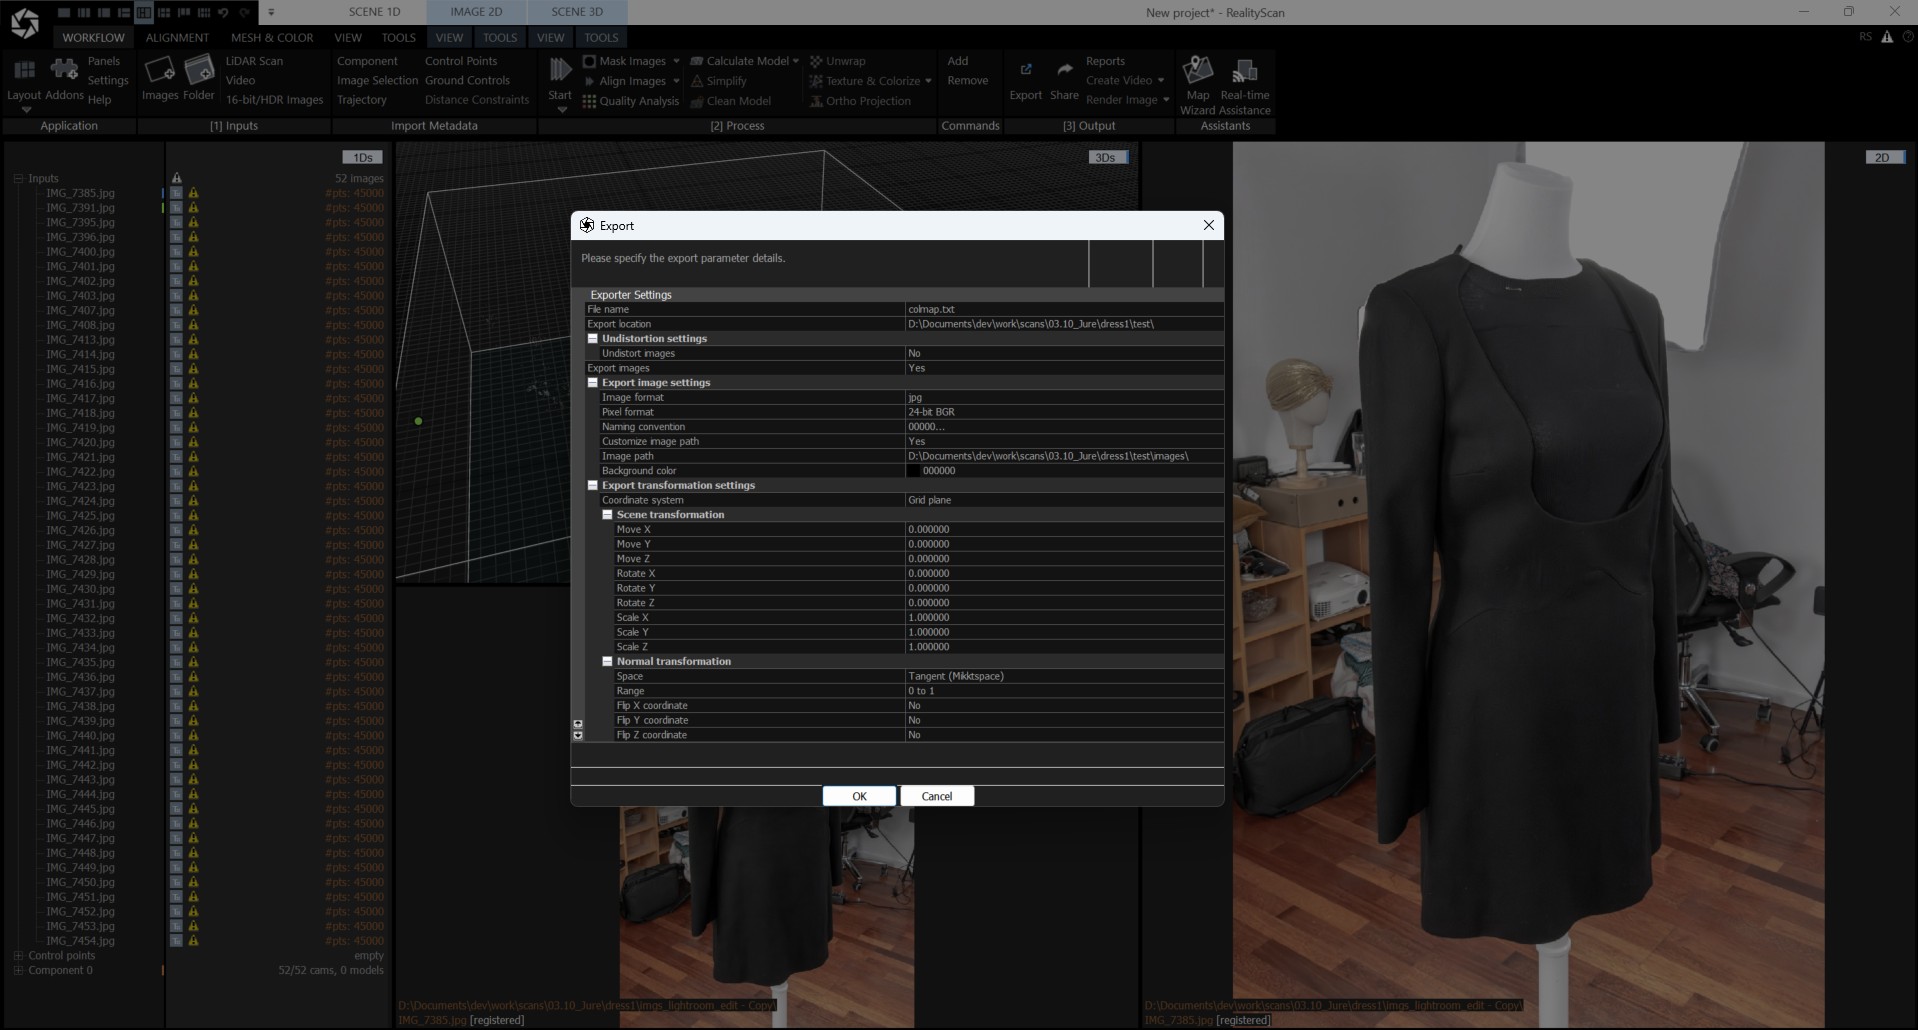
5. “Export images” should be toggled on with a custom image path, storing the images in a subfolder called “images”.
Model Reconstruction
LichtFeld Studio (LFS) is recommended for creating the final Gaussian Splatting model. It is free, open-source, actively developed and produces high-quality results.
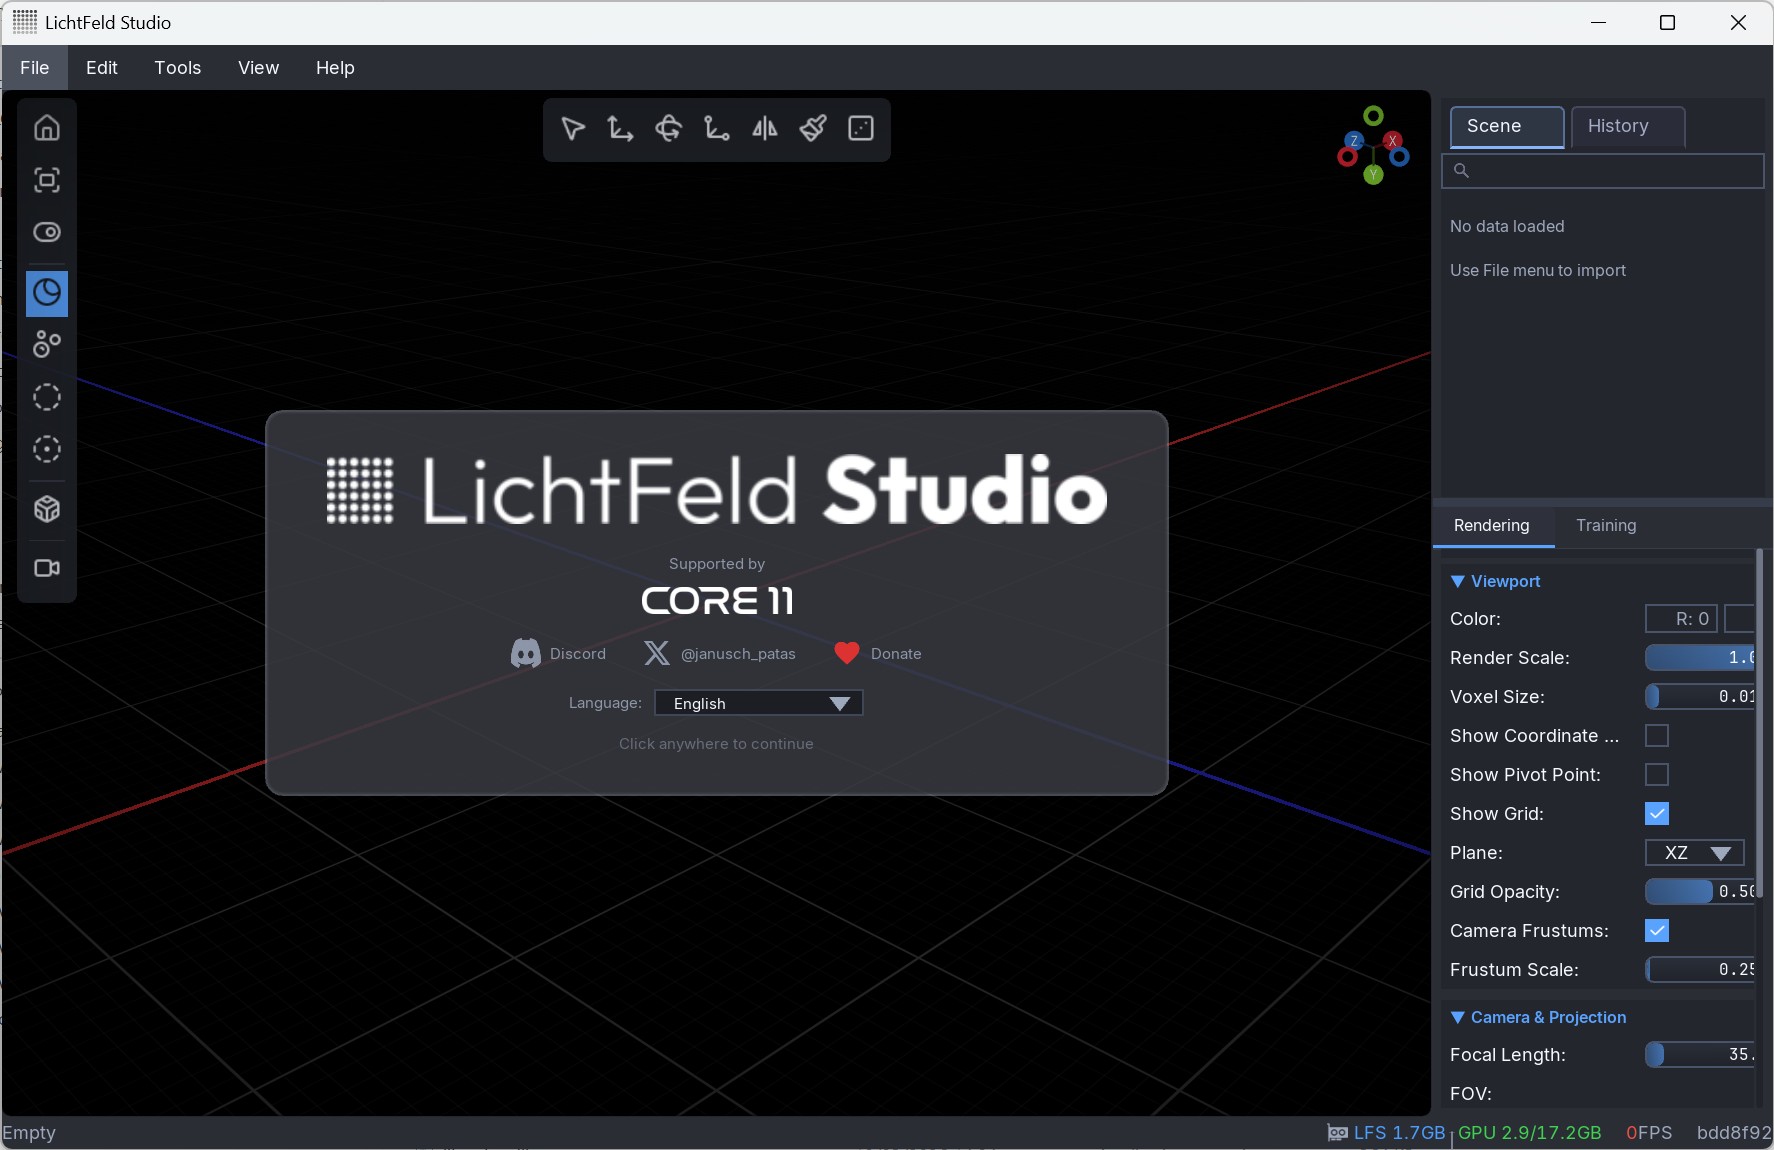
1. After downloading the current version, start LichtFeld Studio.
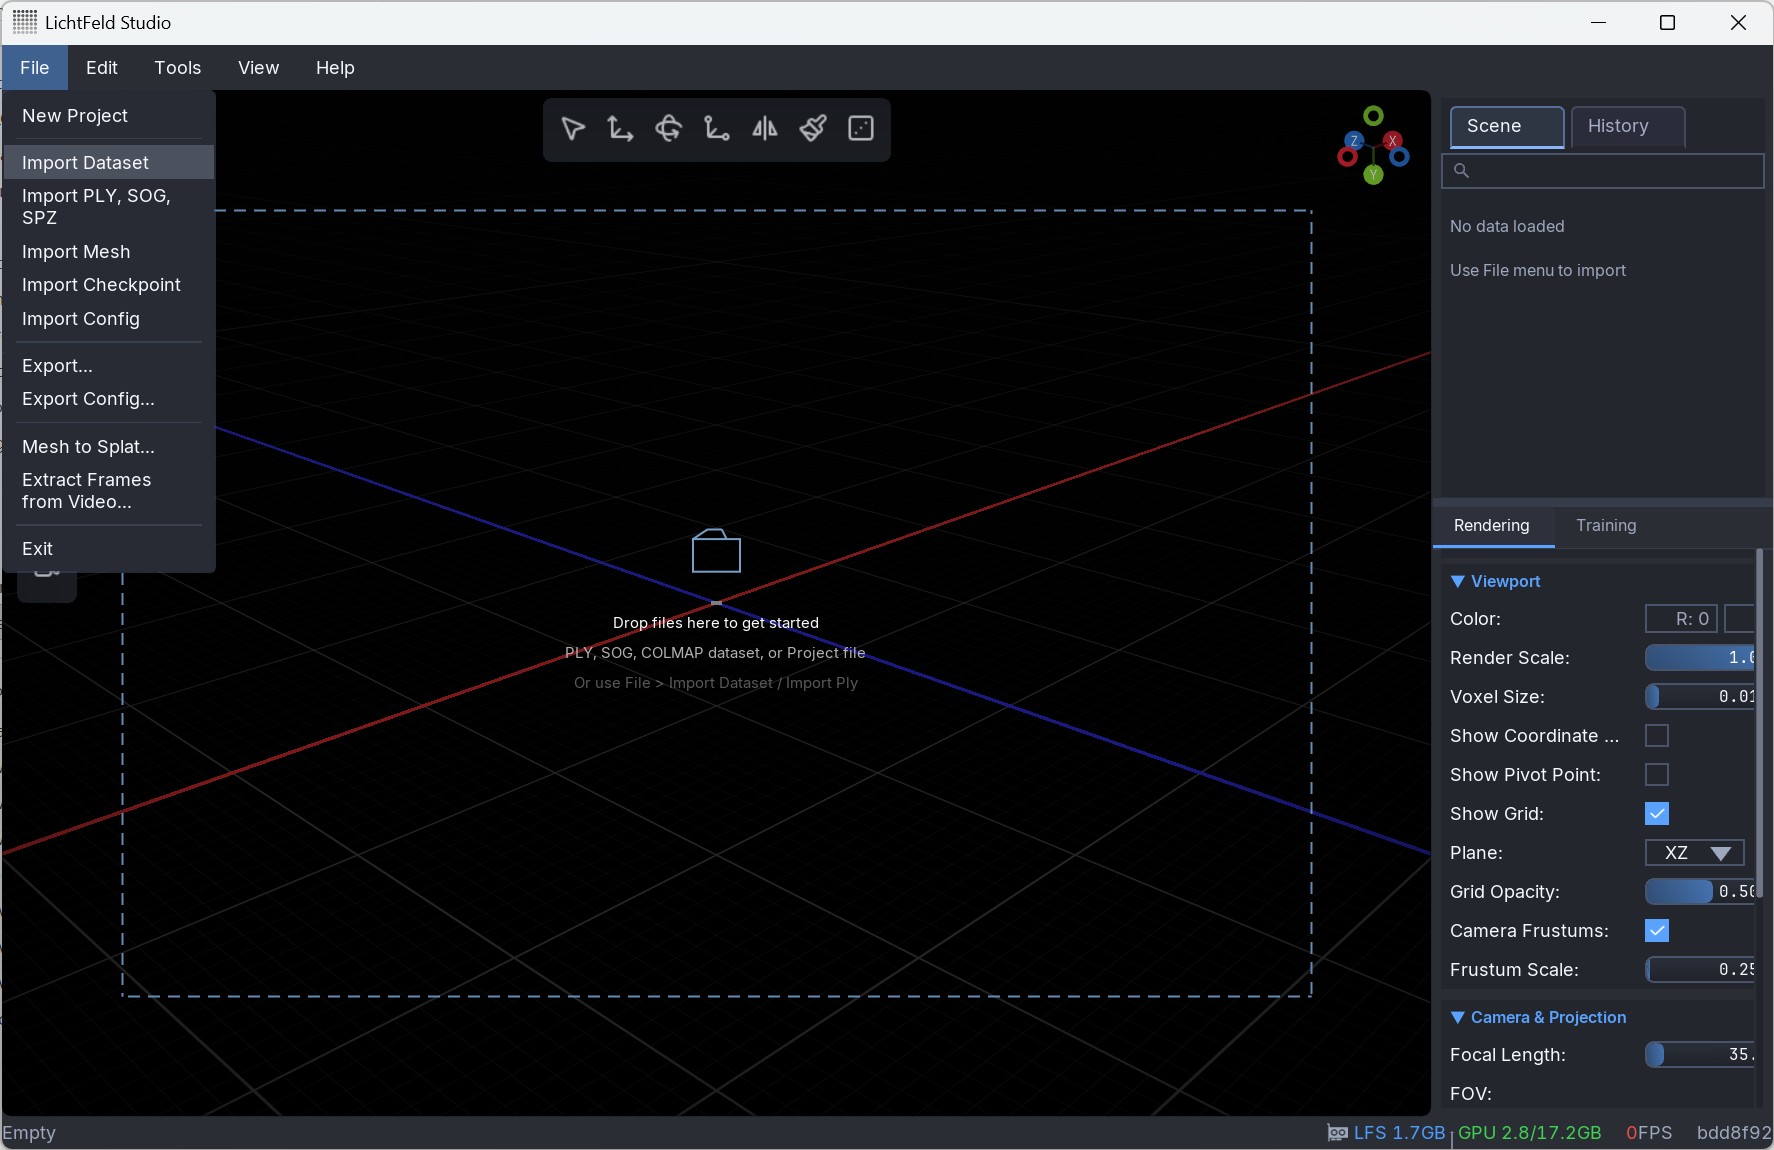
2. Import the previously exported COLMAP data.

3. Specify an output directory which LFS will use to store intermediate data and the trained model.
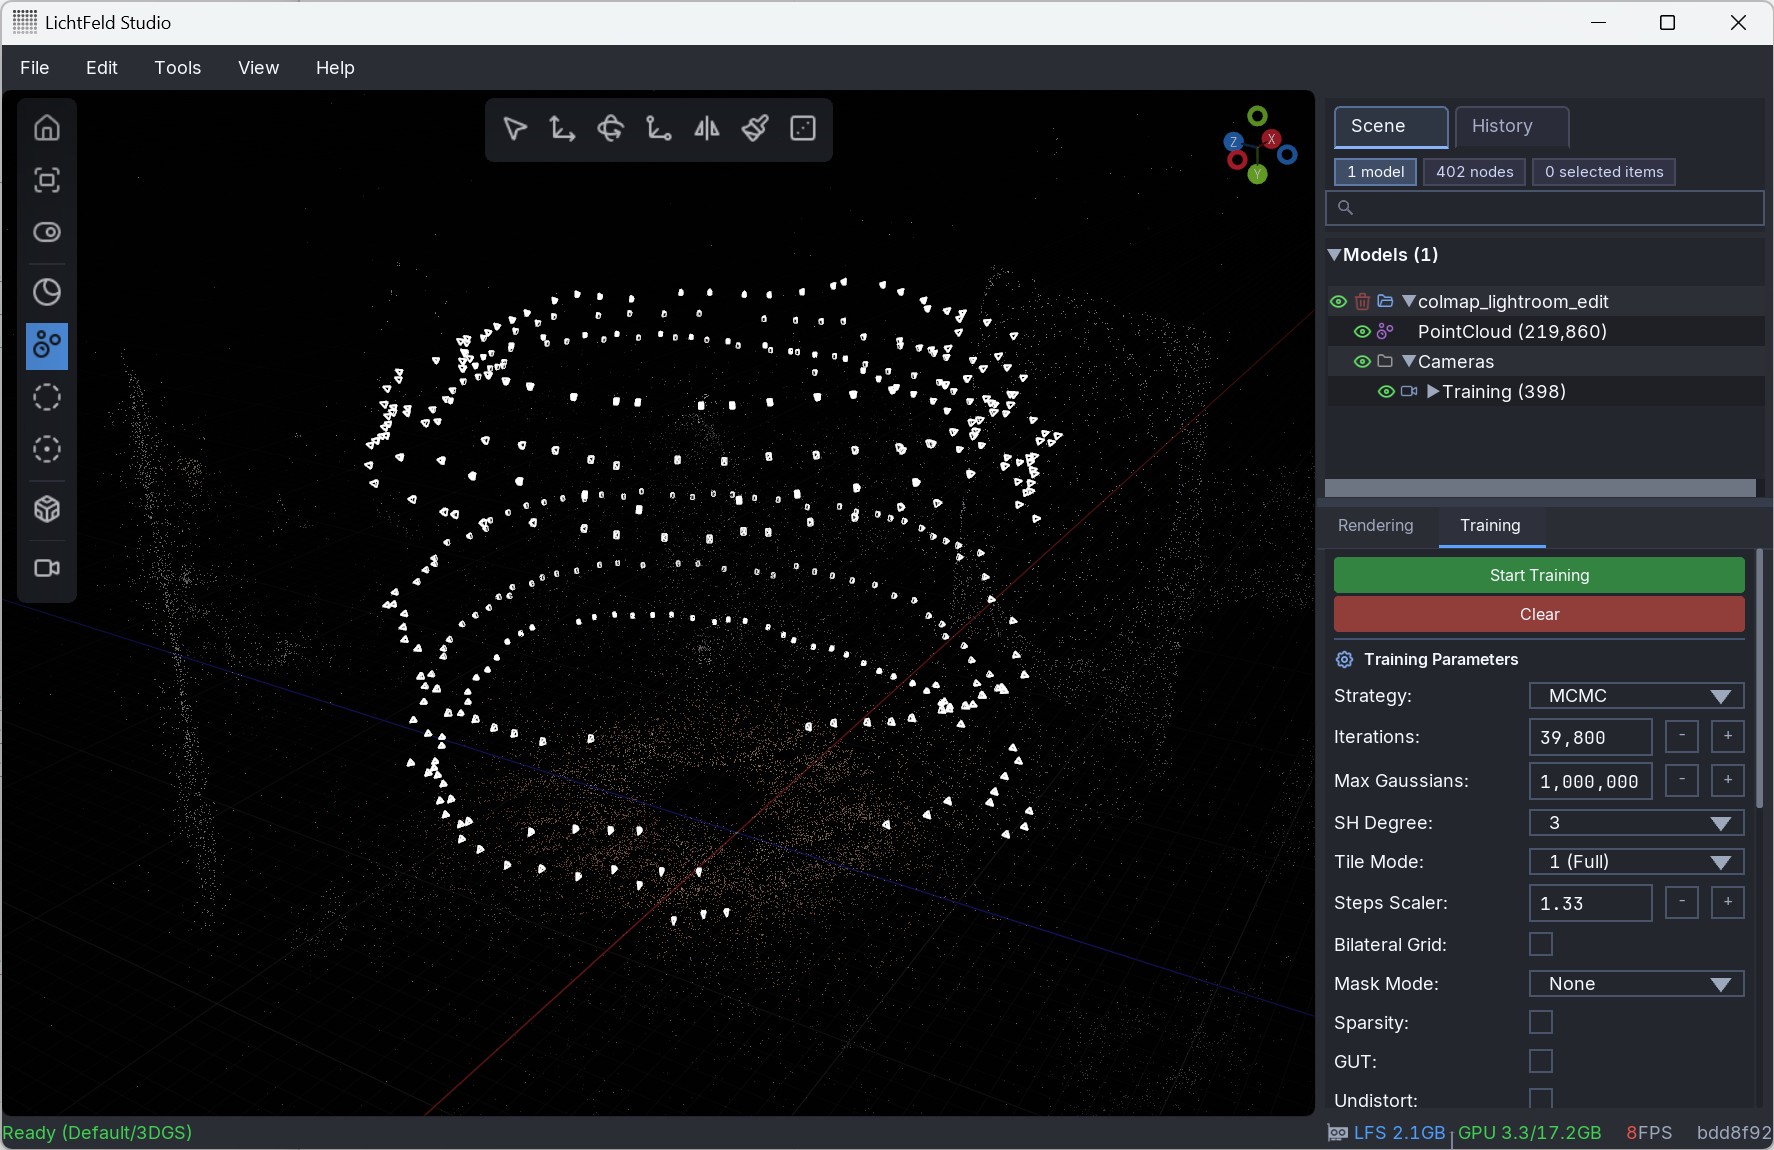
4. Before starting the training process, there are many different parameters that can be changed, like the number of training iterations and the maximum number of splats that will be output. Tooltips give further information. The default parameters are a good starting point. For finer control, advanced parameters are exposed. If, for instance, the final model lacks detail in finer structures, the learning rates may need to be adjusted or the number of splats increased.
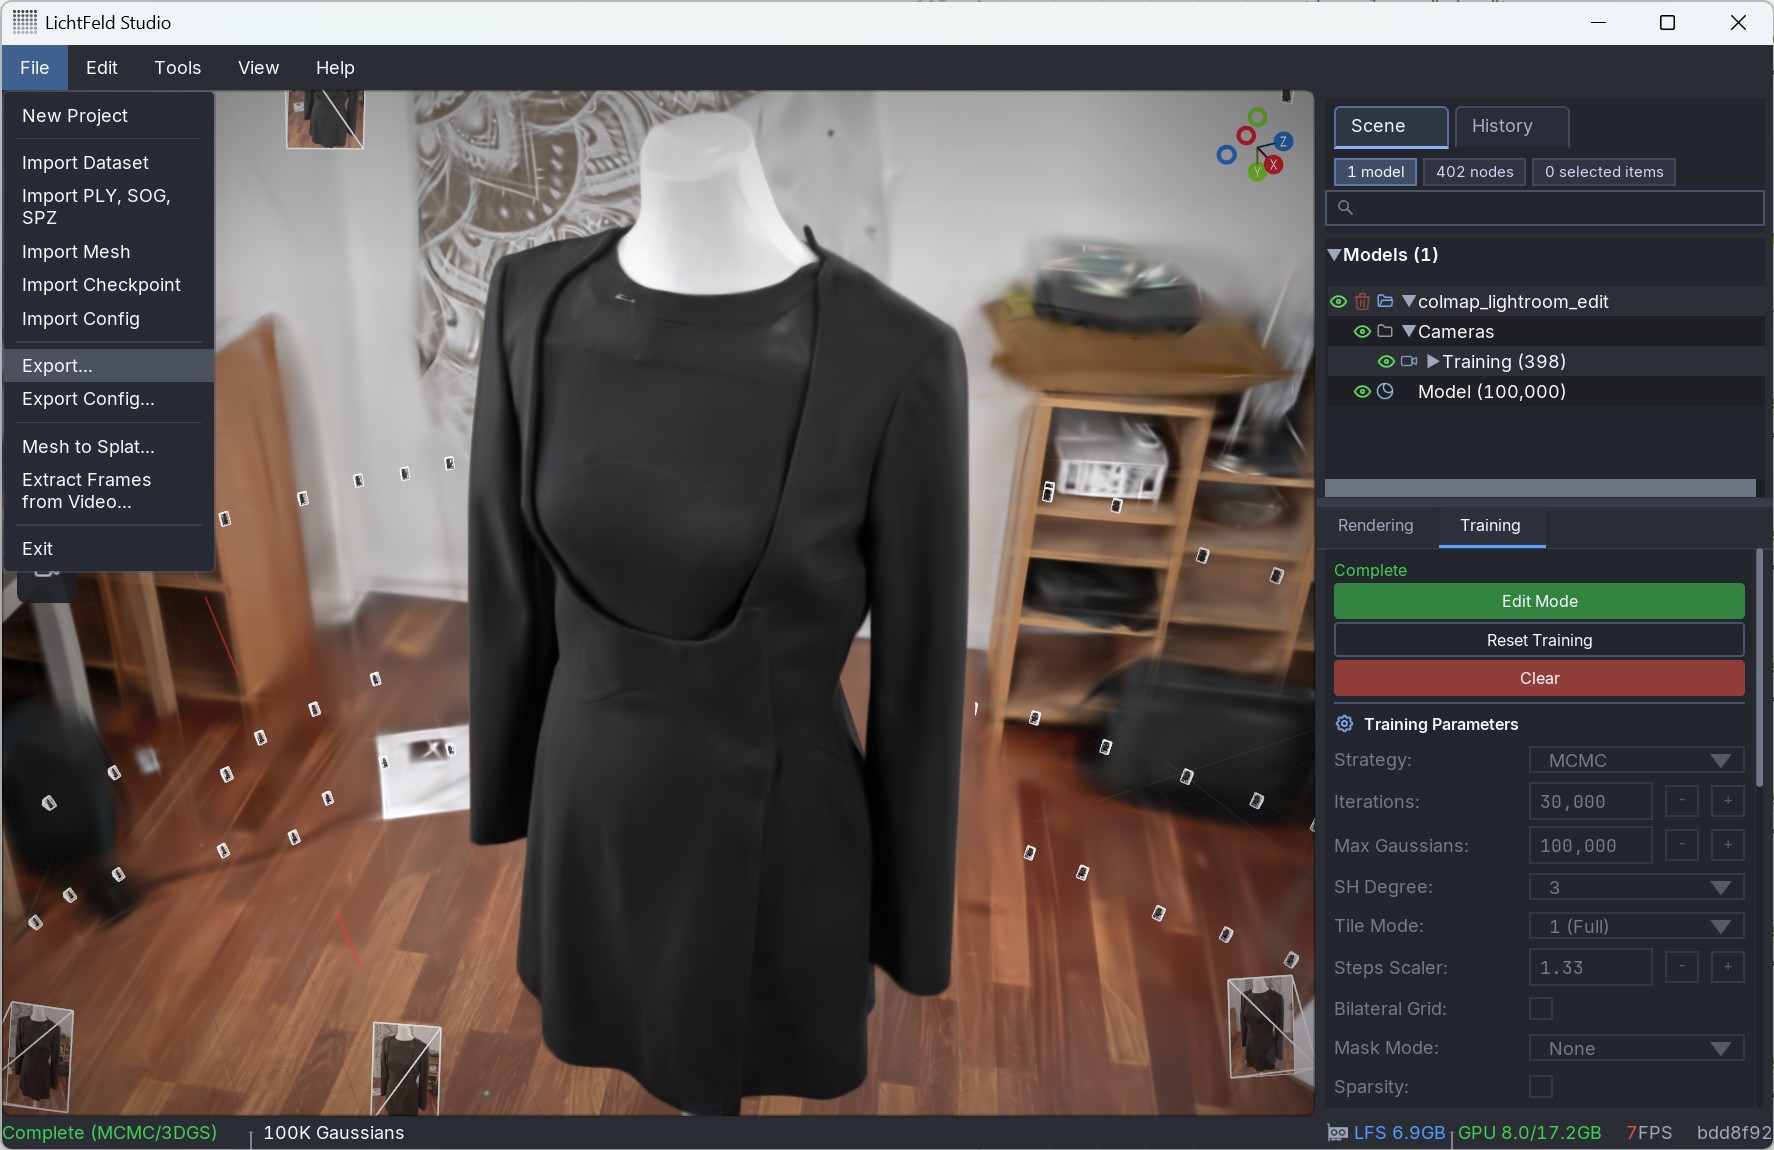
5. Once the training is complete, the model can be exported. It is also possible to edit the model in LFS to cut away unwanted splats.
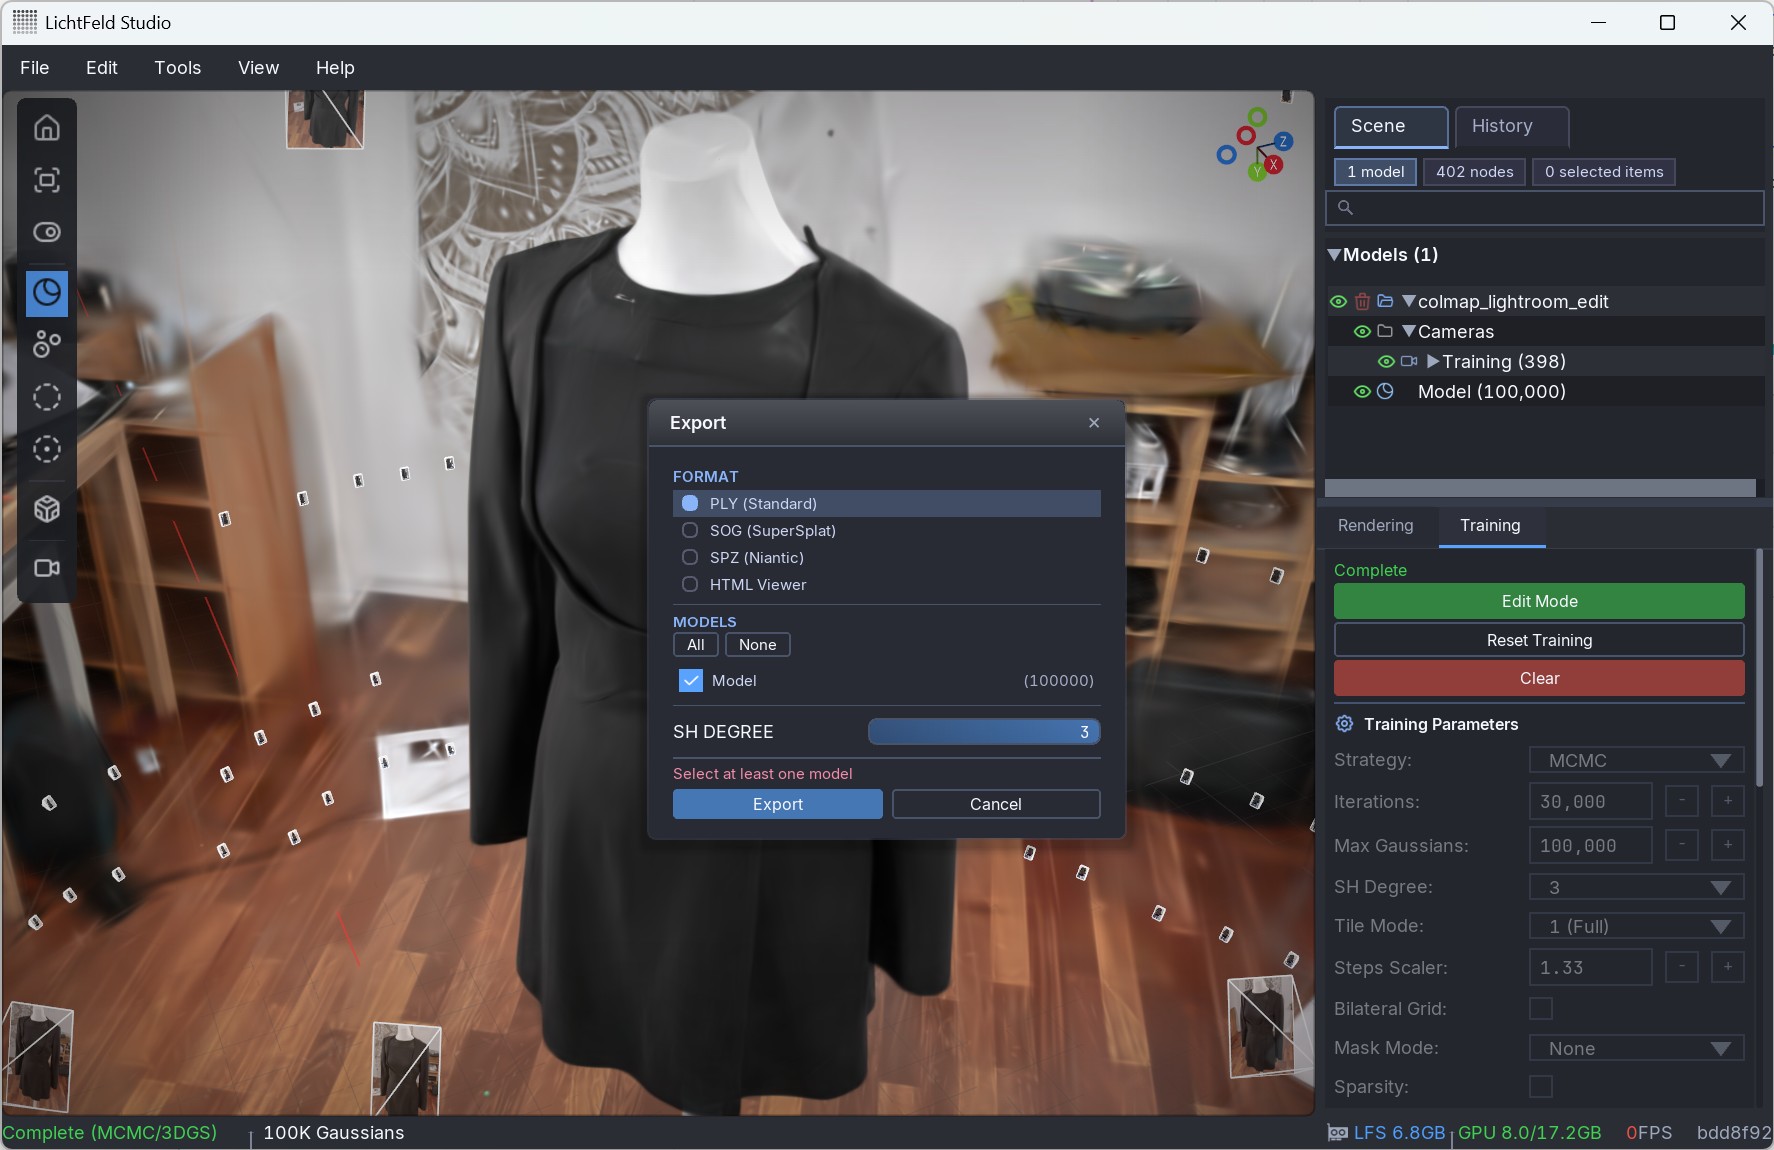
6. The model can be exported in multiple different formats. PLY is a standard format, while SOG greatly compresses the data without much visual degradation. Leave SH degree set to 3 to also save view-dependent color information.
Sometimes further manual post-processing of the model is necessary where unwanted splats can be cut away, which is usually desired if a digital twin of a single object should be created instead of a whole scene.
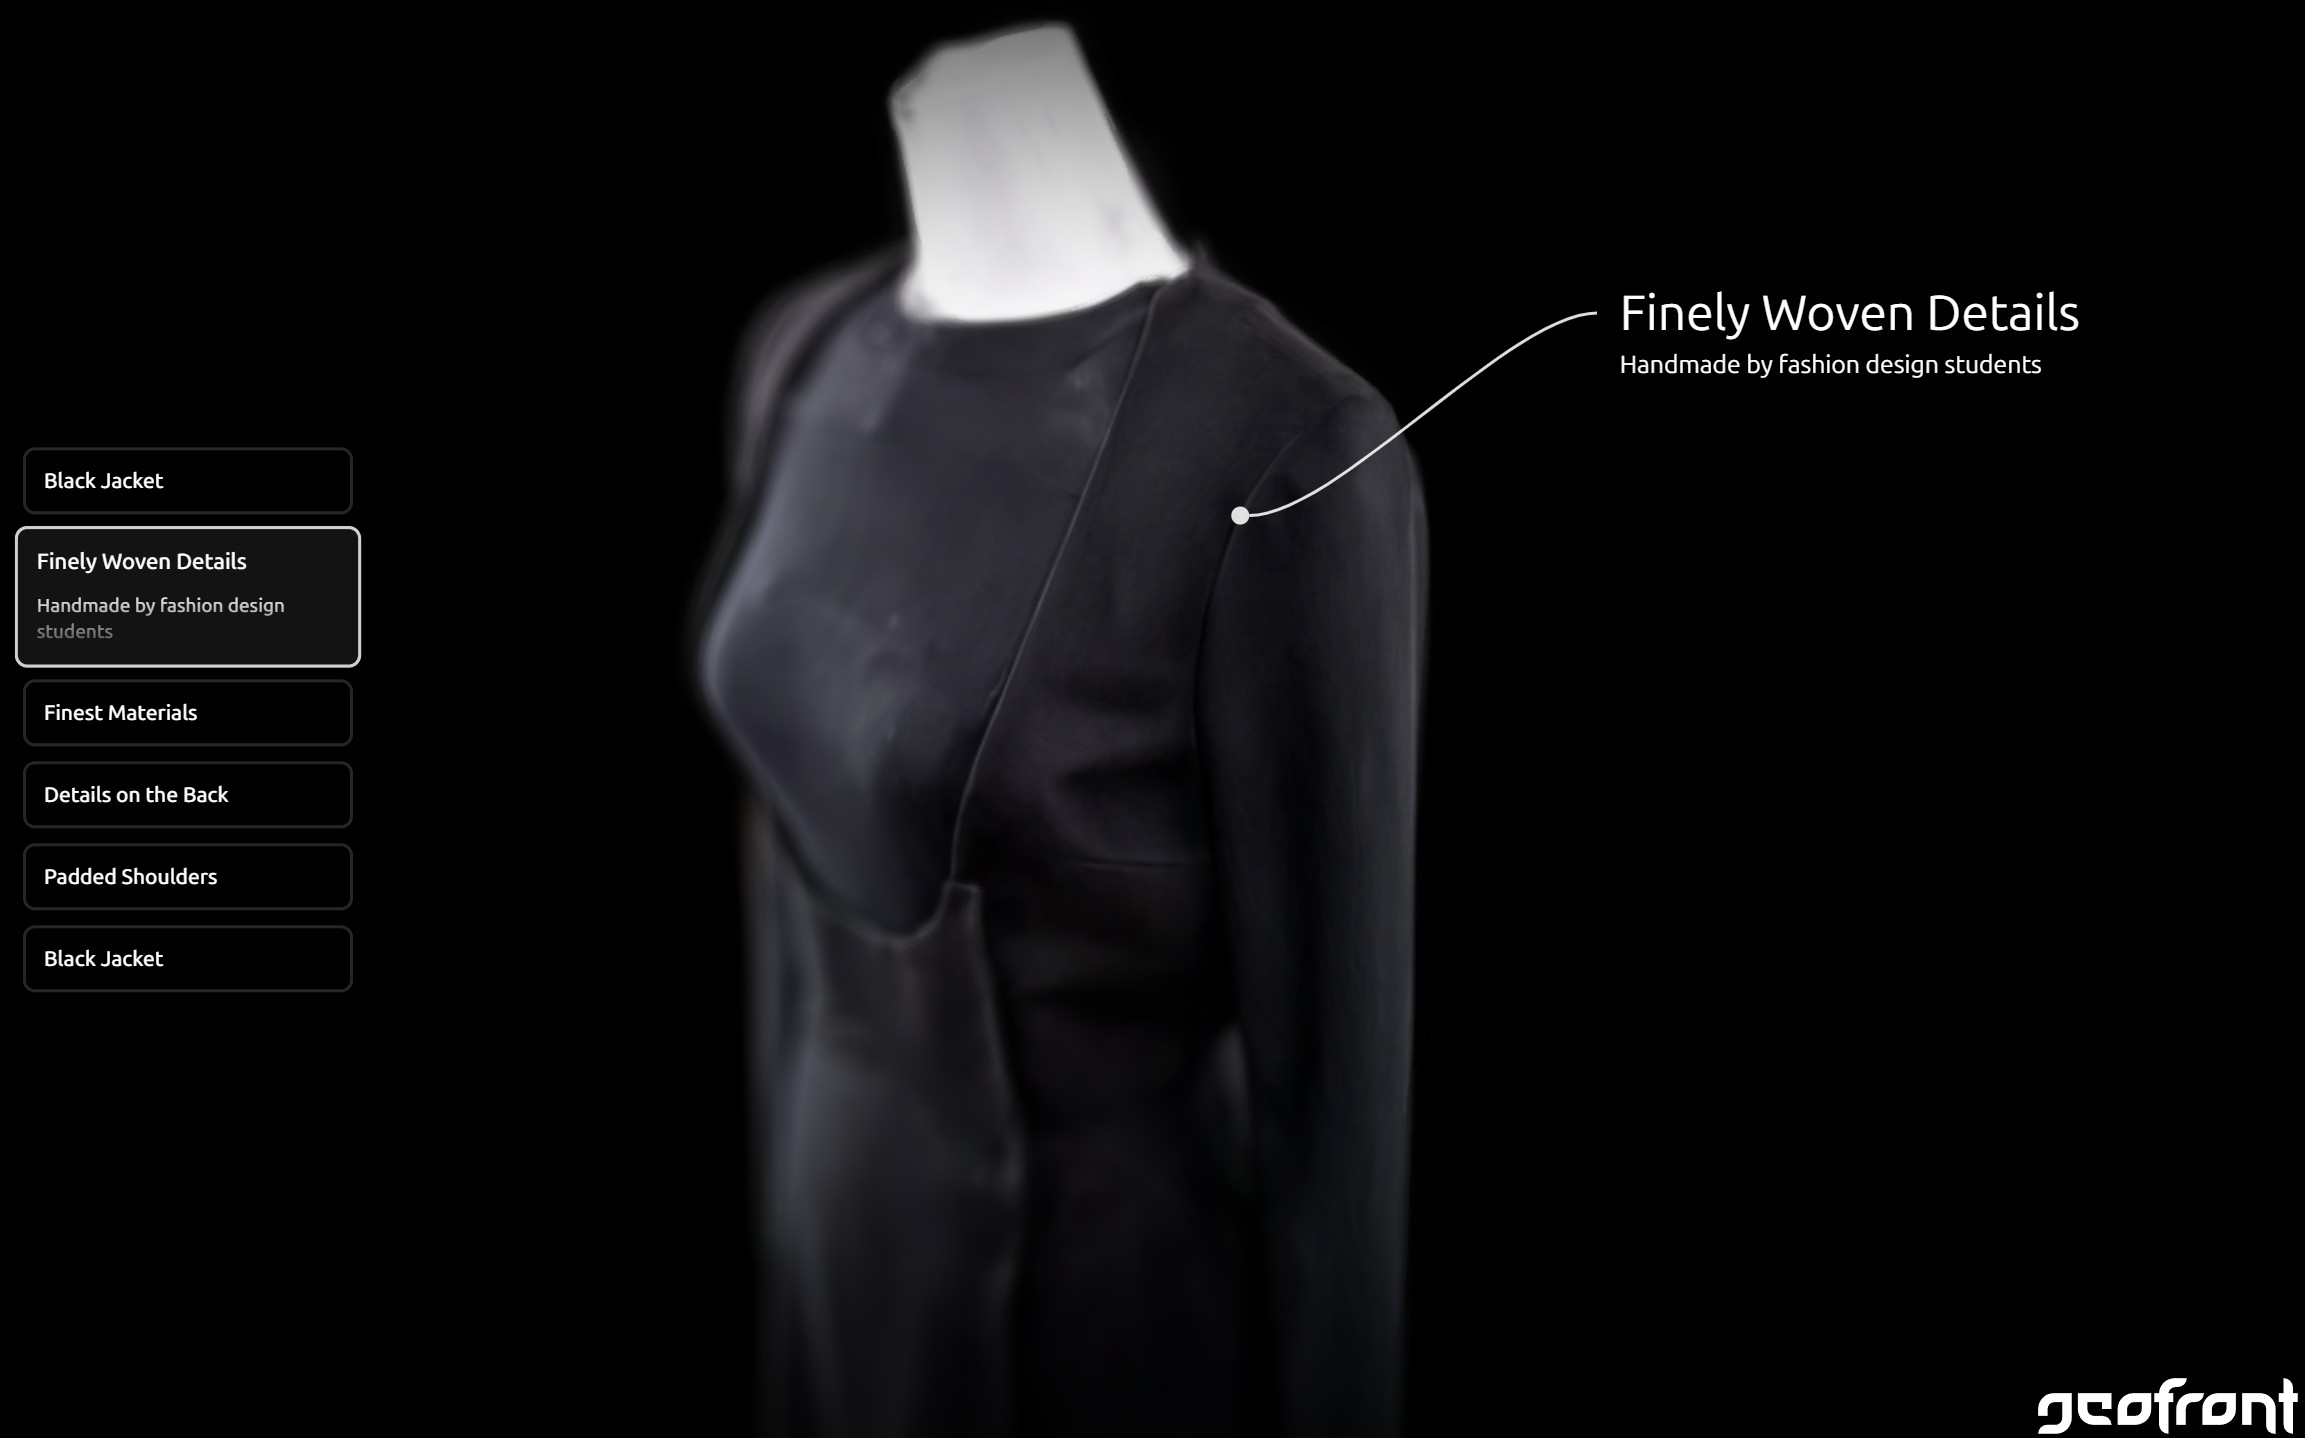
Presentation
Depending on the use case, there are different options to present and view the final model. LichtFeld Studio itself offers a high-performance viewer by simply dragging and dropping the model into the program. There are also other options, such as our own geosplat web viewer that features VR and AR support, labels and annotations, filmic post-processing effects, and other customization options and features as requested by our clients.